Categories Energy

The March 15th Presidential Primaries Can Add Fire Power to the War on Energy Waste

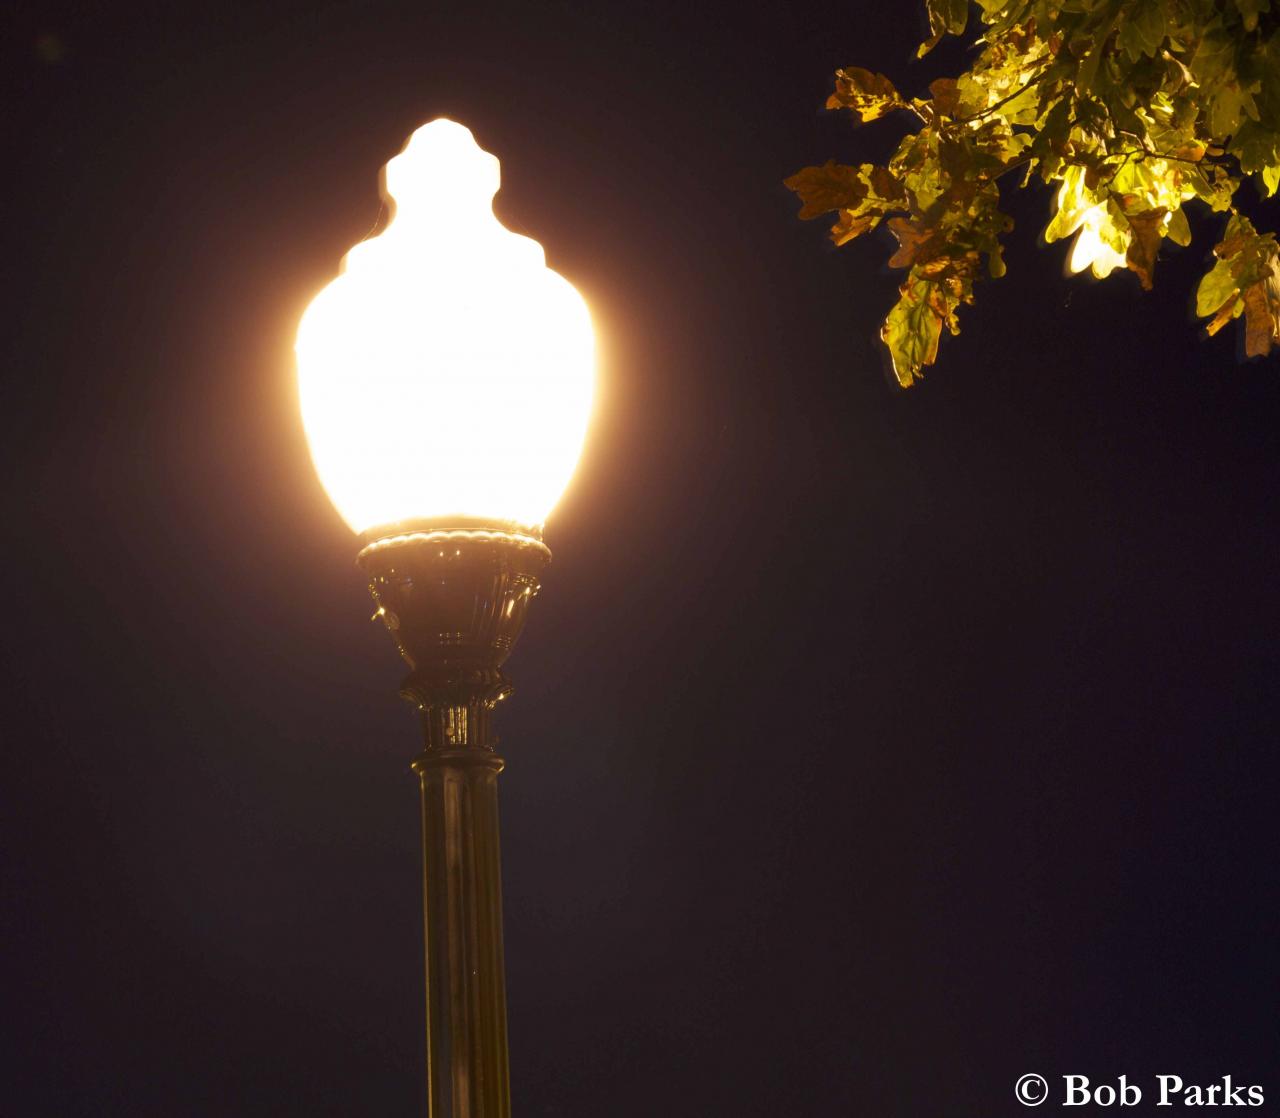
The remaining presidential candidates have an opportunity to distinguish themselves in the upcoming primary by adding a key level of detail to how they would reduce government waste, help our Veterans, create jobs, reduce CO2 emissions, and also fund the fight against ISIS. Changing the lights never looked so bright!

The LED Advantages: 

  • Over 500,000 NEW JOBS
  • A Quarter Trillion in Cost SAVINGS
  • 3 Trillion lbs of CO2 Emissions Reduction

The remaining Republicans (Donald Trump, Ted Cruz, John Kasich, and Marco Rubio) and the remaining Democrats (Hillary Clinton and Bernie Sanders) have all talked in different ways about health care, job creation, and combating terrorism. A War on Energy Waste starting in government buildings will help fund each initiative and also build a long term foundation for strength and American Energy Independence.

The delegates that are at stake on March 15th are significant, and the stats collectively have a vast number of military and government buildings that could all benefit from reduced energy costs. The state to delegate counts is as follows:

  • Florida primary – 246 Democratic delegates, 99 Republican
  • Illinois primary – 182 Democratic delegates, 69 Republican
  • Missouri primary – 84 Democratic delegates, 52 Republican
  • North Carolina primary – 121 Democratic delegates, 72 Republican
  • Northern Mariana Islands Republican caucus primary – 9 delegates
  • Ohio primary – 159 Democratic delegates, 66 Republican

March 15th is particularly key for those in the “Republican Establishment” that want to block Donald Trump from winning the nomination. If Senator Rubio wins his home state of Florida or if Governor Kasich wins his home state of Ohio, the path for Donald Trump involves more mathematical hurdles than if he wins one or both of the “winner-take-all” delegate states.

Here is why a fresh message with actionable intelligence can help candidates from either side of the aisle. America has fatigue from the extraordinary costs of the War on Terrorism, War on Poverty, and War on Drugs. In each case, the high cost of time, treasure, and human life has delivered results that are far lower than expectations. A War on Energy Waste is WINNABLE given the high Return on Investment (ROI) from technology such as LED lighting that is available today.

The order of magnitude is tremendous based on data from the General Services Administration (GSA) and LED performance metrics. The military and VA occupy more than 2.2 billion sq. ft. of buildings which is two thirds of the total 3.4 billion sq. ft. of federal government property. At $1 per sq. ft. to retrofit with LEDs, the annual energy savings is typically $.33 per sq. ft. or higher. The government could save more than a billion dollars every year just by changing the lights and save more than 10 billion over the decade long life of the LED technology.

The billions in energy savings from a War on Energy Waste can serve many much needed purposes:

  1. Staffing nurses and support at the Veterans Medical Centers and Clinics
  2. Job training for Veterans in need of employment
  3. Fighting ISIS and other terror organizations

By launching a War on Energy Waste, the government can go beyond job training to also create opportunities for Veterans to work on many aspects of lighting retrofits. According to the US Energy Information Administration (EIA) there are more than 87 billion sq. ft. of commercial real estate in the US. With $1 per sq. ft. to retrofit and one new job created for every $150,000 in lighting retrofits, the employment ripple effect is over 580,000 new jobs. The employment includes counting lights to prepare savings analysis, utility rebate administration, installation, project management, engineering, and product production. Many of the jobs involve Science, Technology, Engineering, and Math (S.T.E.M.) so the clean-tech work is foundational for 21st century careers. The national energy savings will exceed $287 billion over the next decade and yield over 3.4 trillion lbs of CO2 emissions reduction, the equivalent of taking about 30 million cars off the road.

As the CEO of Independence LED Lighting, I brought our LED manufacturing from China to Pennsylvania in 2010. We are one of multiple companies that have just scratched the massive potential of energy savings and job creation. Beyond our Fortune 100 and small business accounts, we have seeded the public sector with installations at the VA Medical Center in Durham, North Carolina, the US Marine Corps Base Quantico in Virginia, and over 30 US Navy ships for Military Sealift Command (MSC).

Categories Blog

Produce Your Own Hydrogen – The Homemade Hydrogen Generator

How to make a mini Hydrogen Generator / TUTORIAL - YouTube

There are many different designs of hydrogen generators available on the Internet. There’s also many schematics available to download showing exactly how to build your own hydrogen (or Brown’s Gas) generator. While adding this component to your vehicle, keep in mind that some vehicles may not benefit from the injection of Brown’s Gas but many will – especially in smaller, older vehicles.

Vehicle Compatibility for Brown’s Gas

Some vehicles, especially newer vehicles with all the computer controls, could possibly run erratically if you introduce Brown’s Gas into the air intake system. This is primarily due to all of the sensors that are installed on vehicles today.

When Brown’s Gas is introduced into the air intake system, it enriches the quality of the air by adding hydrogen and oxygen. Vehicle engine sensors are designed to detect “normal” air quality and make any adjustments to the engine necessary if air quality changes. When they detect the hydrogen and oxygen enriched air in the air/fuel system, the computer will automatically make changes to the air/fuel mixture and cause the engine to run erratically.

Some people have avoided this problem by removing the air sensors from the vehicle and replace them with a fake sensor that makes the computer think that the sensor is still there, but unlike the air sensor, the fake sensor does not send any signals to the vehicle computer. There are also other methods to avoid this problem and a quick Internet search on “vehicle sensors and Brown’s Gas” will show ways to avoid computer issues.

The Homemade Hydrogen Generator

The hydrogen generator that you build should be designed especially for the vehicle in which you are installing it. You need room for the hydrogen generator, and it should also be located close to the battery (for power).

Components List

You will need at least the following components to start building your hydrogen generator:

  • A canister large enough to contain the water, electrolysis plates, and wiring.
  • At least two stainless steel receptacle wall plates.
  • Grommets, plastic or rubber washers, and stainless steel screws.
  • Heavy duty wires (6 to 8 gauge) – red (positive) and black (negative).
  • Fuse boxes with at least 30 Amp fuses
  • Enough plastic tubing to connect the canister to the fuel intake system.
  • An on/off power switch to allow power to be controlled to the generator

Basic Instructions for Building a Hydrogen Generator

Many different types of containers can be used to build a hydrogen generator, but the most common is a standard 6” to 8” PVC pipe cut to the desired length. The pipe must be completely sealed to allow the gas to be contained and captured. PVC caps or threaded ends can be used for this.

The stainless steel wall plates are those used to cover an old receptacle that is no longer used. These can be found in any hardware store. Stainless steel must be used because it does not corrode as regular steel will. Electrolysis will corrode normal steel within minutes.

The steel wall plates should be sandwiched together but not touching. Mount the grommets inside the “screw holes” of the wall plates, use the rubber washers on the outside of the plates and attach them together with the stainless steel screws but leave each screw attaching a separate plate. The plates must not touch each other but each screw needs to touch each plate.

Connect the red (positive) wire to the screw on one of the plates, and connect the black (negative) wire to the opposite screw on the other plate. You should now have about a 1/8” space between the two plates with each wire connecting each plate. One plate serves as a positive conductor while the other plate will serve as the negative conductor. When powered, the current passes through the water within the canister – breaking down the water into its single atoms (hydrogen and oxygen).

A plastic tube (normally around ¾”) should be inserted through a drilled hole near the top of the canister where the gas will collect. It is this tube that will connect to your vehicles intake system; supplying the Brown’s Gas. As a safety precaution, connect the hose to the hydrogen generator canister and run it into a separate canister which contains water – then finally connect it to the intake system of your vehicle. This secondary canister will help prevent a disaster in case the gas is somehow ignited by the engine.

Install an on/off power switch on the inside of your vehicle – and connect to the red wire supplying power to the hydrogen generator. There’s several different ways to connect the power switch so do a bit of research on this. Also install the fuse box in-line with the power supply wire. If a wire was somehow shorted out, the fuse will blow instead of causing electrical damage or fire to your vehicle.

Connecting to the Air Intake System

Most vehicles are equipped with a rubber type, air-intake component which connects from the vehicles air filter directly to the engine intake. It is this rubber component where you will want to connect the tubing from the hydrogen generator. When the hydrogen generator is operating, pressure will build inside the container – which will force the gas into the engine’s combustion chambers.

More Information on Building These Systems

By no means can this short article describe all of the science involved in building a Homemade Hydrogen Generator. It was written to cover the very basics of this component and to give you a brief idea as to how they work and connect to a vehicle. I’ve included several links below that should be reviewed before attempting to build your own hydrogen generator.

And remember; take caution when building these because they can explode!

Categories Blog

Metrics – One Size Fits All?

LEDs are the answer. Now just tell me what the question is. That’s what it seems like, doesn’t it? Nobody doubts the promise of LED technology, and certainly the unprecedented design flexibility is very exciting. It seems, however, that anyone with any LED experience has a disappointing one among their forays.  So what’s the matter with all of us?

It’s become clear to me that some of these problems stem from familiar metrics and guidelines that are no longer sufficient.  We roll our eyes at naïve consumers who quantify their needs in terms of a “60 watt light bulb,” but perhaps it’s time we reconsider some of the other metrics that have been convenient, handy and “good enough.” For today, let’s pick on color quality.

For the most part, if it is important to have objects look attractive, we seek light sources with a color rendering index (CRI) in the 80s or higher.  Perfect, we reason, would be a CRI of 100.  We rely very heavily on that number, but will that really get us what we need?

The CRI scale was developed to measure color fidelity compared to a reference light source – at most color temperatures, an incandescent type source.  If we believe that incandescent light quality is the ultimate goal, then a CRI of 100 would represent perfection.  Those who have ever left the house with a navy blue sock on one foot and a black one on the other, however, may not agree with that assessment.  As guidelines for legislation and financial incentives are set, we should remember that CRI was never intended to indicate fitness for an application, nor does it say anything about preference by any population.

Averaging the appearance of eight pastel colors for what is reported as the CRI (Ra) metric is a compromise of convenience, but there are six additional reference indices that can hold more information.  But is higher always better?  Many highlight the R9 (deep red) index, since people generally want to look healthier and better rested than they may actually be, but does even that tell the whole story?  Many people prefer neodymium lamps in their homes, which transform standard incandescent lamps from 100 CRI and R9 of 100 to a CRI of 77 and an R9 of 15.  There are CFL lamps that are nearly indistinguishable from incandescent lamps at the same 82 CRI of their disdained cousins, but with an R9 value of 20 rather than zero (or lower).

It turns out that we don’t actually like to see all colors.  We tend to prefer red tones (ruddy complexion, toasty fireplaces).  We don’t like yellow so much (jaundice, sickly appearance).  So maybe we don’t actually want all indices to score 100?  This logic may be great for residential applications, but perhaps not for healthcare settings.  I would certainly want my pediatrician to readily recognize jaundice in my baby.

While there are new scales being developed, like the color quality scale (CQS) and gamut area index (GAI), the issue still remains – is our goal color fidelity (versus what as a reference) or preference (whose preference)?  The answer is likely “it depends on the application.”  As an example, the DOE’s Retailer Energy Alliance has recognized that in their performance specification for refrigerated display cases, where they include minimum values for saturated color indices R9 through R12.  So maybe the metrics are actually fine.  Maybe we need to remind ourselves what they actually were intended to measure, and consider identifying additional complementary metrics to define exactly what we are trying to characterize.

Categories LED

Avoiding LED Glare Bombs

If you’ve ever looked directly at a retrofitted LED luminaire in a parking structure or gas station canopy, chances are you were blinded by the glare. And when you looked away you probably saw those black spots reminiscent of antiquated flash cameras.  This happened to me just last week. As a lighting product manager and mechanical engineer I often look up at the lighting source; try as I might, I simply can’t avoid it! Since you’re reading LED Journal, you undoubtedly do this too.

So why do covered ceiling and area light luminaires have exposed LEDs? Such a design model virtually ensures glare. Yet as a lighting professional, I often wonder why LED fixtures are being developed with such little regard for glare control. While there is no clear answer, I’d suggest two strong possibilities: the first is that lighting manufacturers were initially so consumed with lumen output that a feature that would lower light output was not part of the discussion. Lighting specifiers were skeptical, at best, that a parking garage could be properly illuminated with a 3,000 to 4,000 lumen fixture, costing $700 and lasting only 50,000 hours—so where was the value proposition? The manufacturers were making seemingly outlandish statements that only delivered lumens mattered, and a parking garage could be magically illuminated with what appeared to be ¼ the total amount of light output from the luminaire.

The second reason, in my opinion, is that manufacturers and specifiers both believe the new designs are an improvement over the old shoe-box designs normally used in area light applications. Post-top mounts were certainly more attractive, but new stray light ordinances have slowed their sale so many specifiers perceive these designs as new and fresh.

Standards -Yes, fresh design aesthetics are definitely appealing! That said, I don’t believe that modern LED luminaires should be held to a lower standard regarding glare control or that modern LED luminaire designs should be exempt from the standards and practices meticulously developed over the last 100 years.

Measuring Glare – Since glare can be quantifiable through a standard luminance measurement, this issue is far more significant than one person’s opinion versus another’s. As you may know, luminance is the photometric measure of the luminous intensity per unit area of light travelling in a given direction. Luminance describes the amount of light passing through a specific area that falls within a particular angle.

A common mistake in measuring LED luminaire luminance is measuring the entire fixture. Luminance must be measured at the luminous opening, in other words at the smallest point (without any breaks) that emits light out of the fixture. If one were to measure the entire LED luminaire, it would not account for the “shards” of light emitted from each individual LED. The light emitted from individual LED luminaire designs is more akin to a series of laser beams in contrast to the homogenous output of a traditional luminaire.

I don’t want to dive too deep into the mathematical equations or the comparison of luminance values, since not everyone following this blog is an engineer.  However, it’s important to point out that in controlled tests, results showed quantitatively that a shielded LED luminaire yielded an eightfold reduction in glare.

LED Luminaires Redesign Needed – Most LED luminaires designed today do not address the issue of glare. To the contrary, glare is often completely ignored. Clearly, as was done with traditional light sources, manufacturers should address LED glare, because high efficacies and quality distributions can be maintained while controlling both discomfort and disability glare.

I believe glare is just as important an issue today as it was 20 years ago. Unfortunately, with the impracticality of physical testing, there is no easy way to compare one luminaire to another when specifying fixtures for a project. However, there is one important point I’d like to make and that is, as with incumbent lighting technologies, new LED luminaires should not be designed with unshielded lamp sources. Effective shielding of LEDs can be achieved, while still providing excellent performance and a dramatic reduction in glare.

You may have a different opinion and I welcome your comments and feedback.

Categories Blog

Is Low Price Really Low Cost?

When building an LED luminaire or lamp, total price of components in the bill of materials is a critical to the commercial success and adoption of a product in the market.  Another factor that is truly important in the long run of manufacturing LED products is the total cost for such components and the ability to meet the expected lifetime demanded by the market.  The LED lighting market is demanding high reliability and long expected lifetimes of products in excess of 50,000 hours.  Total cost not only takes into account the price of components, but also the costs associated with issues such as manufacturing quality, warranty claims, and brand reputation due to reliability issues.

The industry has already started to see some of these associated costs in instances related to failures of electrolytic capacitors in drivers and optical performance degradation due to lens material complexities in LED systems.  Connectivity products for LED systems are also important components that are not immune to such concerns and need to be carefully evaluated for quality and reliability when selected during the design process.  While the price is important, selecting the right connectivity solution may prove to be less expensive to a manufacturer over time.

Understanding the basics of the connector design and test process helps a fixture designer make a confident component selection to meet market demands.  The basic connector consists of a housing and contacts used to create the electromechanical interface. The interface can be used for wire?to?wire, board?to?board, and wire?to-device/board connections. The purpose of the connector is to establish and maintain a reliable, yet separable low?resistance connection. The contacts used in a connector system are at the heart of what makes a connector work.  Correct material selection is critical to ensure adequate normal force is retained at the interface during the life of the connector.  The connector housing provides a number of very important functions. Fundamentally, the housing provides electrical isolation between adjacent contacts and between the contact and the outside world.

In high?intensity LED applications, the LEDs themselves generate enough heat to require careful consideration of thermal management and material selections. Choosing the right connector is critical to ensure it meets the intended application and environmental conditions just as with the LED, optics, thermal management and driver electronics.

Connectivity solutions should to be designed or evaluated for LED environments to minimize common failure modes such as fretting corrosion of contacts and other issues due to the effects of plastic relaxation that lead to catastrophic failures.  At TE Connectivity, we have developed design processes and testing procedures along with robust material selection guidelines to design high quality connector performance and field reliability.  Years of innovation and experience is embedded in TE’s design and manufacturing practices providing the market with the confidence it needs to build products with high demands for useful life at competitive prices.

In today’s solid?state lighting systems, LEDs, thermal solution, optics and packaging comprise a considerable part of the overall cost of the lighting system. The connector is usually a small part of the overall cost and is often specified without adequate consideration and balancing of cost versus performance. It makes little sense to scrimp on the one component that your entire fixture relies on for power. Without a reliable and appropriate connector system, the lighting fixture, however well designed and esthetically pleasing it is, becomes a dull, static (and unlit) non?functional object d’art. Spend some time and consideration selecting the appropriate proven connector system for the application even if it costs a little more. It will pay dividends in the long run.

The bitterness of poor quality lasts much longer than the sweetness of the lowest price.